Thursday, October 16, 2014

Glowing Bowling

This activity has been a favorite to my 2 year old and the little girl that I watch during the week. They have been playing this for two days now. I should have known this was a great activity they had a blast over the summer when we made water bottle bowling!


If you have your older kids to help you they can draw the faces on the cups which will be fun to see all the different faces you guys come up with. I wasn't brave enough to give the 2 year old and 1 year old a sharpie so I did it all!

What you need:

  • Plastic Cups (As many as you need we used 3)
  • Sharpie
  • Glow sticks 1 for each cup
  • Ball
What to do:
  1. Draw Ghost faces onto the cups
  2. Place a glow stick into each cup
  3. Set them up and have fun bowling
For more kids activity like this check out my Pinterest Board

DIY American Girl gifts


Hello Sorry I have been slacking this week but I am here with a double DIY gift that's perfect for that little girl in your life that loves American Girl dolls! I know my girl loves hers but I hate seeing the price on a lot of these things she wants for her doll. So I turned to Pinterest for some great DIY gift ideas for Christmas gifts.


 The first one that I will share with you is a DIY Hopscotch. Which is super cute and super easy to make. I used craft foam paper to make these. Cut out squares and write number on them. That's it! If you like you can add stickers or try to make them fancy.


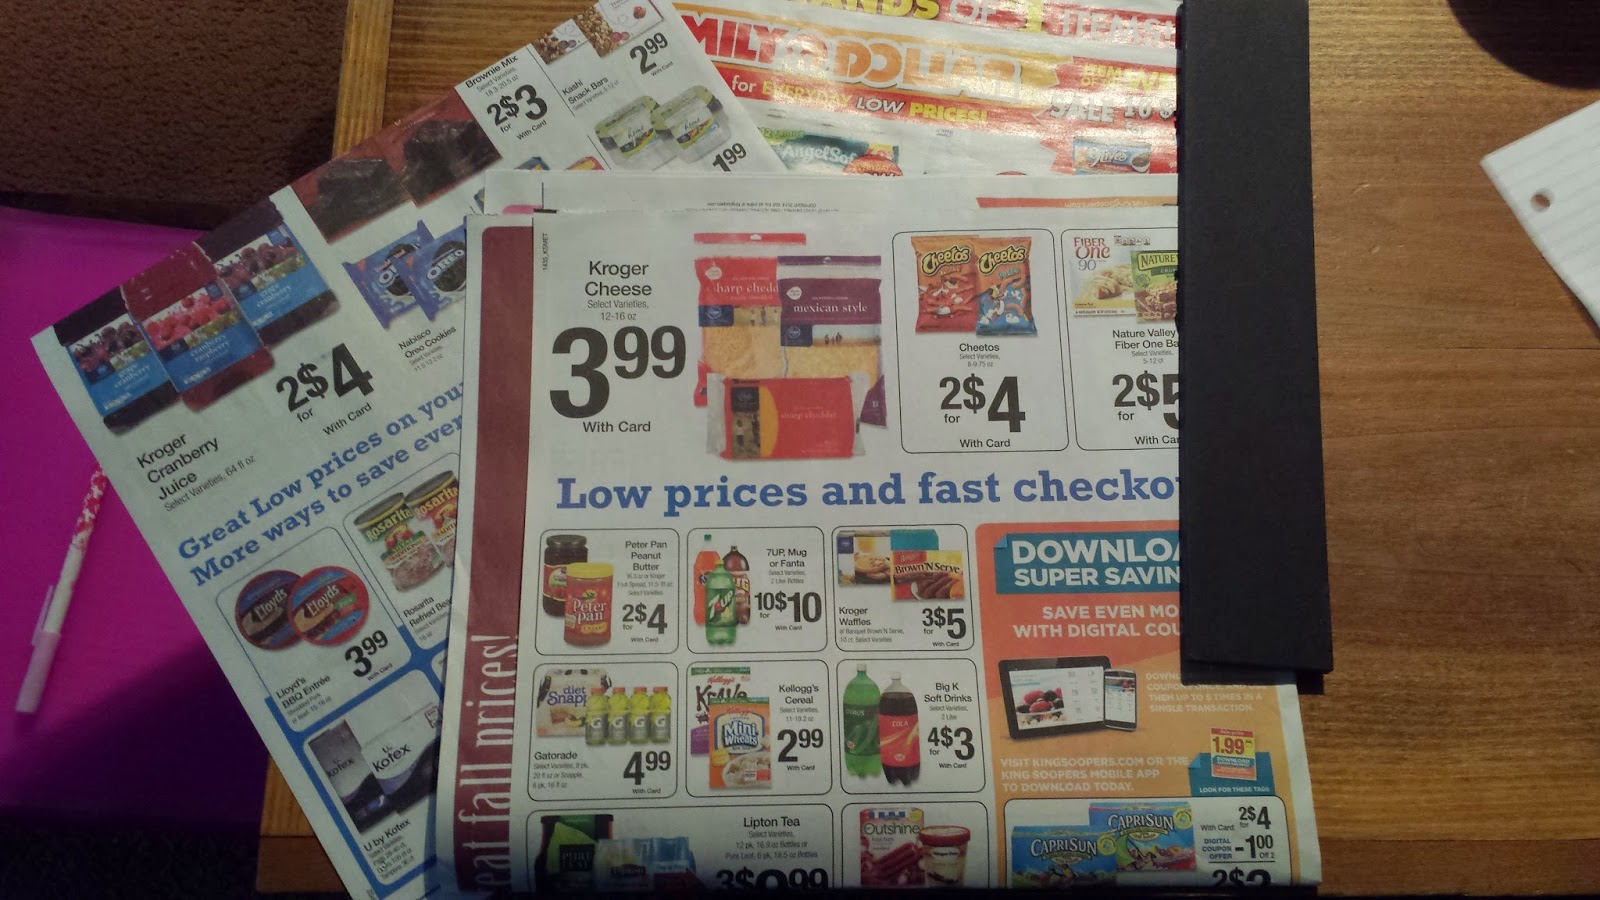
The next one was a little more time consuming but so cute when they are done. This one is making mini doll food out of store ads.

What you will need:
Store ads
Foam board
Glue

What to do:
Cut out the food you want from the ads.

Glue food to foam board and then trim the foam board. An excato knife worked the best for this.


Hope you enjoy making these and your little loves these for her doll!

For more great little girl stuff check out my Pinterest board.


Tuesday, October 14, 2014

Candy Corn Parfait


The recipe for the week has been a big hit at snack time for my kids. It's so simple they help make it which is fun for them. And I love it because they want real fruit not fruit snacks everyday!
Hope you guys enjoy this as much as we do.

Ingredients:
  • Oranges
  • Pineapple
  • Whip cream


Directions:
In a bowl start with a layer of Pineapple and then Oranges. Top with whipcream.
Enjoy!

For more fall recipes like this one check out my Pinterest page. Follow Kristina Morud's board Halloween on Pinterest.

Friday, October 10, 2014

DIY ABC Magnets


This is a cute DIY gift idea for the little ones in our life. We are starting letters with my 2 year old and I hate the cheap looking ones we had with our 5 year old...I'm still finding random missing ones around the house.

I used the idea from my previous post of turning your kids art work into magnets for this gift idea.

I love this idea because if you can use pretty scrapbook paper and make it more personalized. My son loves football so I used football skin paper.

What will need:


  • 12×12 scrapbook paper
  • Clear gems (I used the bigger ones)
  • Sharpie
  • Mod podge
  • Magnets

What to do:
1. Cut circles to the size of the stone. I had a circle cutter that I had in my craft stuff. If you don't have one trace the stone and cut them out.
2. Write a letter on each circle with the sharpie.

3. Place small layer of mod podge on the stone and then add the paper.

4. Once dry add your magnet.

For more great DIY gifts check out my Pinterest board!  Follow Kristina Morud's board Gift Ideas on Pinterest.

Thursday, October 9, 2014

Preserve Craved Pumpkins


The pinterest tips for the week is one just in time with the craving pumpkin season here!
Thank you Discount Queens for this great tip that I'm excited to try out this weekend.

To help preserve your pumpkins this season you will need
  • A large bucket (or a trash bag in your bath tub will work too! )
  • Water
  • 2/3 cup bleach

Place your pumpkin into the bucket. Fill with water and the bleach.  You will let this sit for 24 hours. After it sits pull out and let dry upside . Once dry it ready to be outside and look fresh for some time.

We will be trying this tip this weekend so I will update you guys on how it goes!

For more Halloween tips check out my Pinterest board.
Follow Kristina Morud's board Halloween on Pinterest.

Wednesday, October 8, 2014

Footprint Frankenstein


Today's kids activity is super cute for the little ones. It's a great way to save their small footprint :) Thank you Child Care Soup for this super cute idea.

It's real simple and Landon thought it was a blast to paint his foot and not get in trouble for it!
For this we just painted his foot and then press a piece of paper onto his wet foot. Once dried we glued on eyes and draw on the rest of the Frankenstein details. 

Simple and super cute!

For more Halloween idea check out my Pinterest board! Follow Kristina Morud's board Halloween on Pinterest.

Monday, October 6, 2014

Easy Pumpkin Brownies


Today's recipe is one that was on our family fall bucket list and it's pumpkin brownies!! I was all excited to try these. Let me just warn you now you must be a pumpkin lover to like these and also they are super sweet.

Thank you Cookies and Cups for this simple 2 ingredient recipe. On the page you can a recipe for a icing recipe if you want to add to yours. We didn't because it was sweet enough.
Yes you read that right this recipe only takes two things. What are those 2 things? Canned pumpkin and your favorite boxed brownies. For ours we used Pillsbury Fudge.

So here we simple easy fall brownies!
Ingredients:
1 canned pumpkin 15 oz
1 boxed brownie mix

Directions:
1. Preheat oven to 350 degrees
2. In a 9x9 pan line with foil and spray with non stick spray
3. In a bowl mix together brownie mix and pumpkin.
4. Once mixed pour into lined pan
5. Bake for 25-30 or until set.

That's it! Simple and yummy.

For more recipes like these check out my Pinterest board! Follow Kristina Morud's board Sweets to make on Pinterest.